
Let me start with some quick math that every parent needs to understand: the average baby goes through about 7 diaper changes per day for roughly three years. That’s over 7,600 diaper changes per child. With four kids, including a set of twins, my wife and I have changed somewhere around 15,000 diapers, and there were probably that many again done at daycare. Yes, you read that correctly, about 30,000 diaper changes for four kids.
When you’re managing three kids in diapers simultaneously, efficiency isn’t optional. I learned this the hard way one frantic Tuesday morning when I needed to get everyone out the door for daycare and faced three consecutive poopy diapers. That experience taught me that a well-organized diaper changing station isn’t just convenient—it’s survival.
If you’re expecting your first child and building a baby registry, every item I’m recommending here makes an excellent addition to your baby shower wishlist. Friends and family always ask what new parents actually need, and these are the practical essentials that will get daily use for years. Skip the cute-but-useless decorative items and focus on building a diaper station that will make your life genuinely easier when you’re running on two hours of sleep.
Why Your Diaper Setup Actually Matters
Most first-time parents don’t realize how much time they’ll spend at the changing station. At 7 changes per day taking 3-5 minutes each, you’re looking at 21-35 minutes daily just on diaper changes. Multiply that by three kids, and we were spending nearly two hours every day on diapers alone.
A poorly organized setup adds frustration and wasted time. A well-designed station? It makes those marathon diaper sessions manageable, even when you’re running on minimal sleep.
The Foundation: Choosing Your Diaper Strategy
Cloth vs. Disposable: The Real Cost Breakdown
Before we talk about the changing station itself, let’s address the biggest decision: cloth or disposable diapers.
The disposable diaper math: At $0.20 to $0.50 per diaper and 7 changes daily for three years, you’re looking at $2,000 or more per child before they’re fully potty trained. With multiple kids, those costs add up fast.
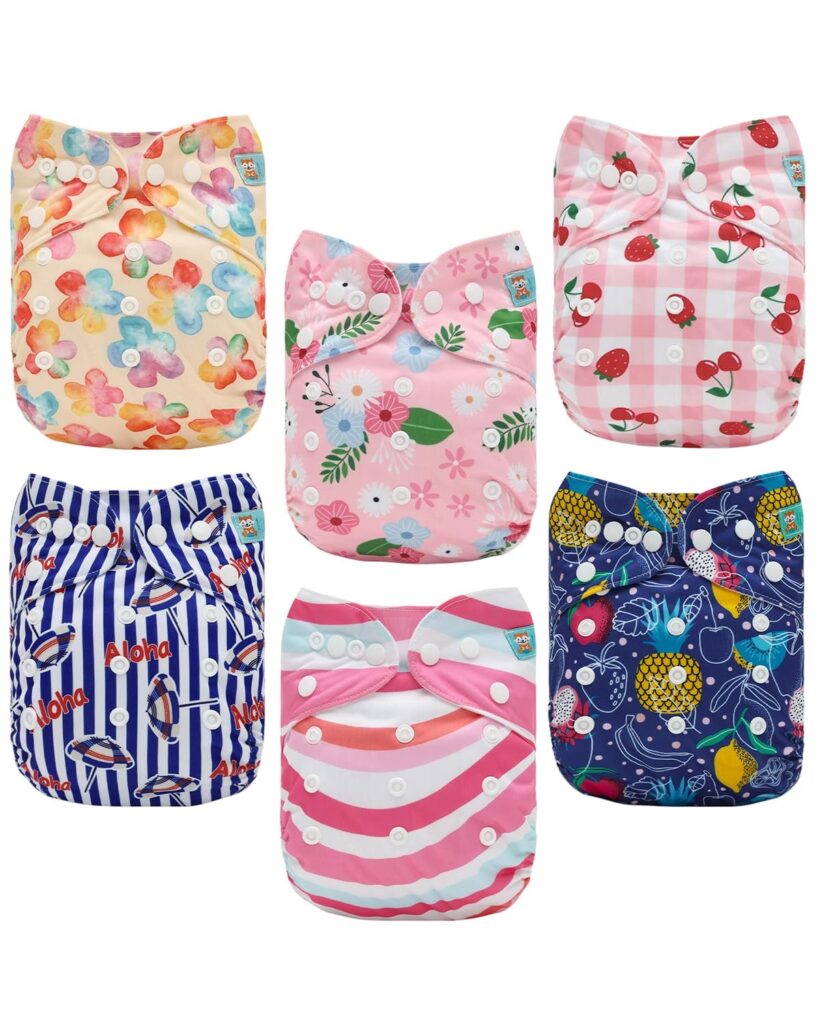
Our cloth diaper approach: We used Alvababy cloth diapers for the majority of our diaper changes. The initial investment was around $300-400 for a full rotation, but they lasted through multiple kids. We cleaned them every couple of days with loads of 20-30 diapers at a time, and the savings were substantial. We purchased both the newborn size and the regular size. The regular size works great from when they grow out of the newborn ones at about 6 months, all the way until they’ve moved on to underwear. We felt that these cloth diapers were a great transition to pull-ups and underwear too, since kids find them easier to remove by themselves than paper diapers during potty training.
I’m not going to pretend cloth diapers are for everyone. They require more laundry and some families simply don’t have the time or energy for that extra work. We used a hybrid approach: cloth at home, disposables when traveling or overnight. Our daycare also used the cloth diapers, so we supplied them with only minimal paper diapers for backup. This gave us significant cost savings while maintaining flexibility. One other cost savings tip: Most of the time, we tried to air-dry our cloth diapers. Typically we would wash the diapers at the end of the day and put them on a drying rack as we were getting ready for bed so they would be dry by morning.
The Complete Diaper Changing Station Setup
1. The Changing Pad Foundation
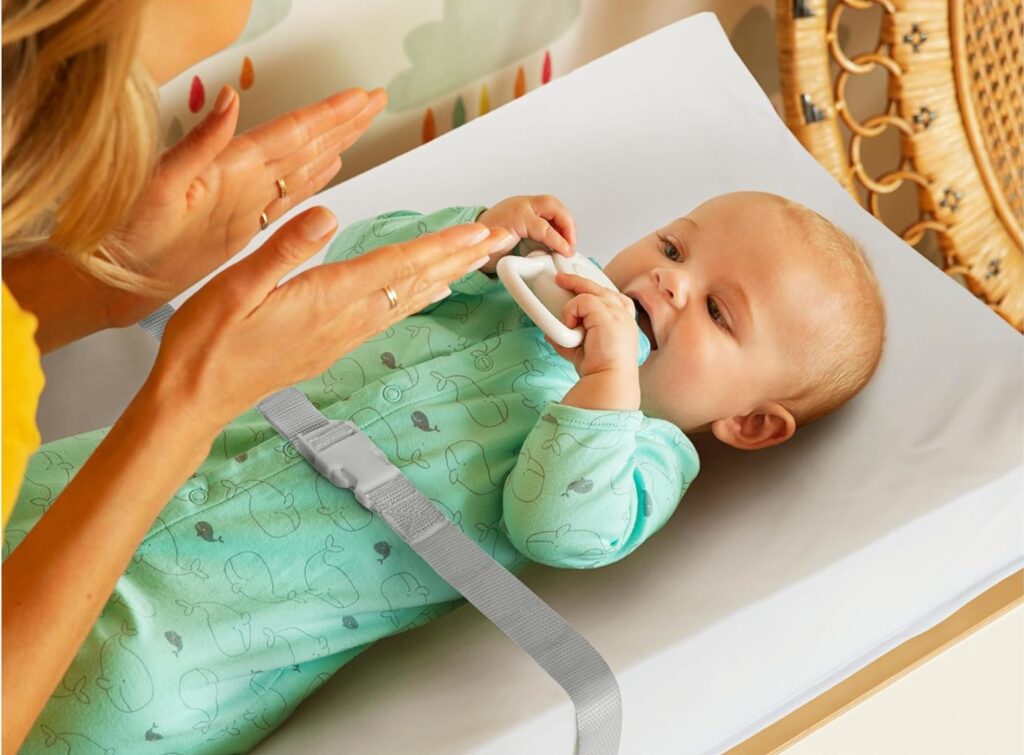
Your changing pad is the centerpiece of the entire operation. After trying several options, the Munchkin Secure Grip Waterproof Diaper Changing Pad became our standard. The contoured design helps keep wiggly babies in place, and the waterproof surface is essential for those inevitable messy situations. The pad also comes with a strap. We didn’t use it all the times, but sometimes you do need to step away quickly when you’re in the middle of a change.
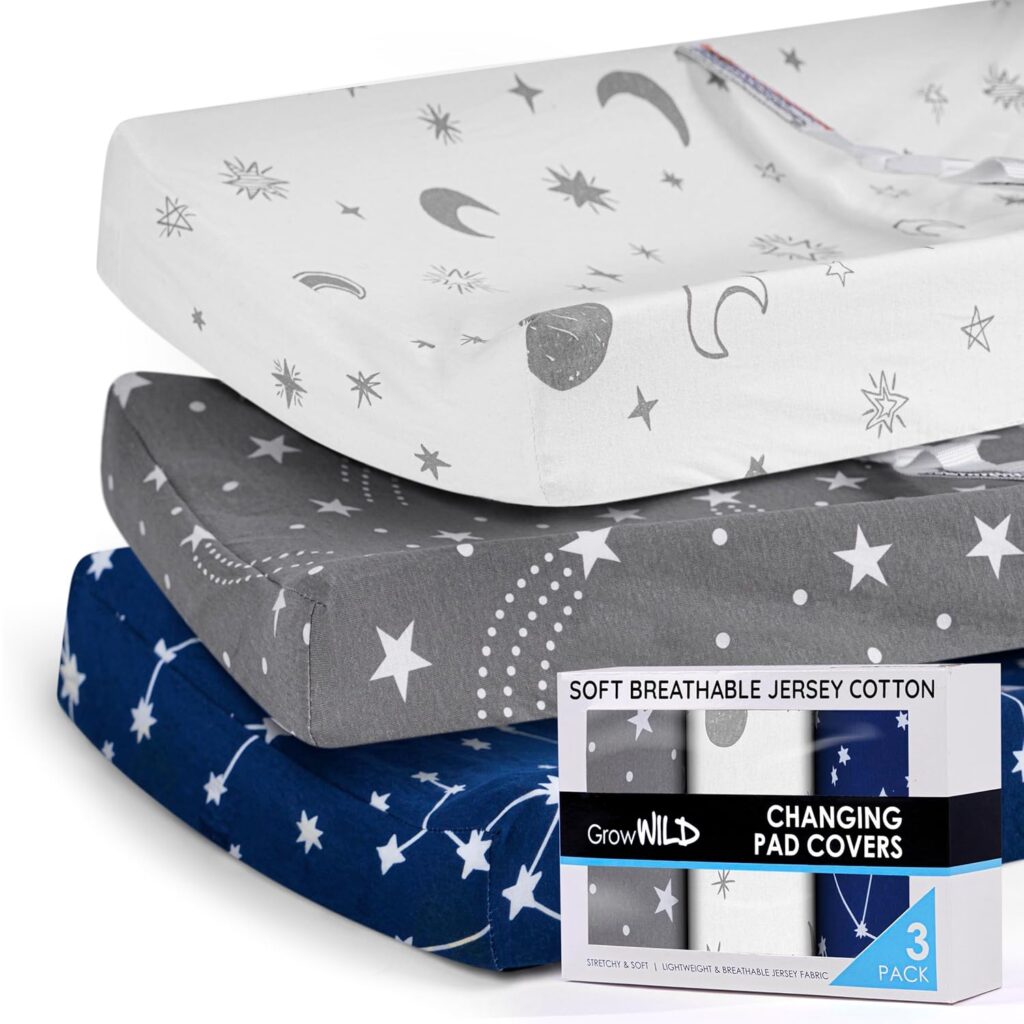
Pro tip from experience: Don’t skip the changing pad cover. The Grow Wild Stretchy Jersey Cotton Changing Pad Cover provides a soft, comfortable surface while being easy to remove and wash. We had several sets in rotation so we always had a clean one ready.
For extra protection during particularly messy stages, we added Munchkin Waterproof Changing Pad Liners on top of the cover. These disposable liners saved us countless times during those explosive diaper moments. You can just remove and toss the liner without having to wash the entire cover.
We also had a ready supply of cotton “birdseye weave” cloths. These came in handy during extra-messy changes and were especially useful with the newborns who still have poor control over when they go (often right in the middle of a diaper change).
2. Wipes Management: Your Most Important Supply
When you’re going through three kids’ worth of diapers, you burn through wipes at an alarming rate. We were going through a large box every two weeks during our peak diaper years.
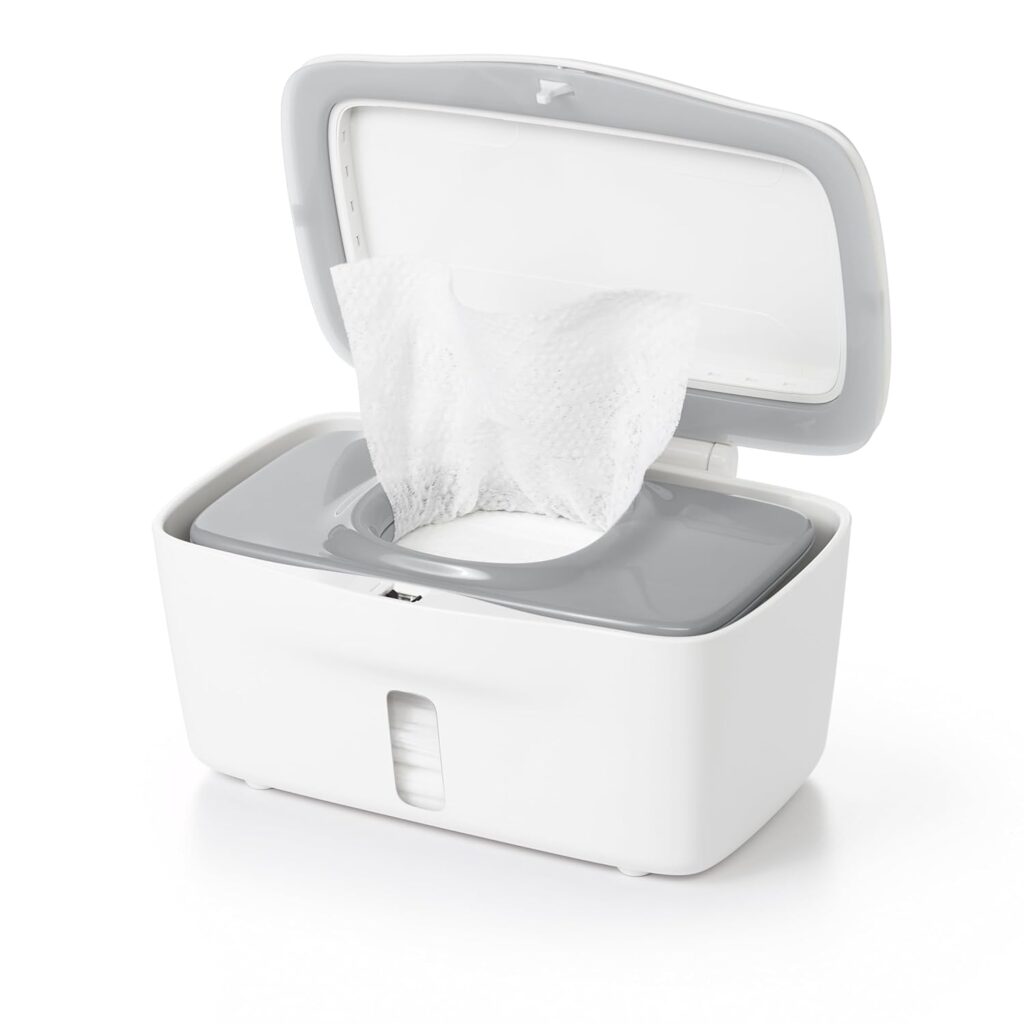
The OXO Tot Perfect Pull Wipes Dispenser solved one of our biggest frustrations: being able to grab a single wipe with one hand while holding a squirming baby with the other. The weighted design keeps it in place, and the silicone gasket keeps wipes moist.
For the wipes themselves, we relied on Huggies Natural Care Sensitive Wipes. They fit perfectly in the OXO dispenser, and setting these “3-pack” refills up on Amazon Subscribe & Save meant we never ran out. More on that cost-saving strategy below.
3. Diaper Disposal Systems
This is where cloth and disposable strategies diverge significantly.
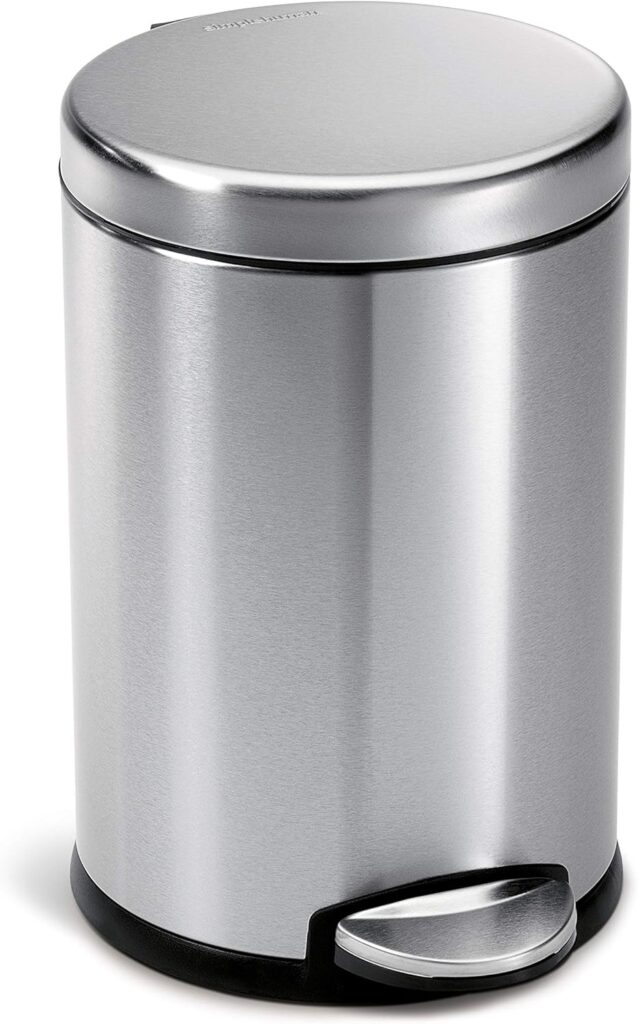
For cloth diapers: We used the simplehuman 4.5 Liter Step Can as our cloth diaper storage solution. The stainless steel design is durable, the step mechanism works perfectly when your hands are full, and the size is just right for 2-3 days of cloth diapers before wash day. If you’re in the situation we have with three kids all in cloth diapers at once, maybe consider a pail one size up. We had two full changing stations (one in the kids room and one in ours with the babies), so we had two full pairs every few days.
The key advantage of this can is that it doesn’t require special bag refills—we just used standard trash bags, which kept our long-term costs down. Every two to three days, we’d dump the contents into the washing machine and run a cycle. The Baking Soda Cartridges listed below were also great here. They come with double-sided sticky pads, so we affixed one to the inside of the lid on top. Even with soiled cloth diapers in there for a couple days, the can combined with the baking soda meant we never had an odor issue.
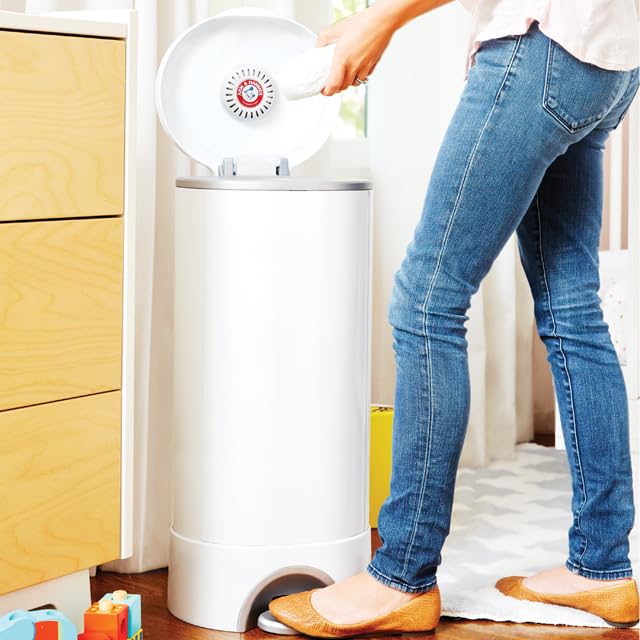
For disposable diapers: The Munchkin Step Diaper Pail is specifically designed for disposables. Even with cloth diapers, it is still necessary to have one of these for disposing of the used wipes. It uses a self-sealing system that locks away odors effectively.
You’ll need Munchkin Diaper Pail Refill Rings to keep it operational. We found these rings lasted about a month with heavy use. Between three kids (even with daycare), we were filling the pail up three or four times per week (twice a week for each of our two changing setups) and tying off new bags. Pro tip: set these up on Subscribe & Save so you’re never caught without a refill.
Add the Munchkin Arm & Hammer Baking Soda Cartridge to the pail for extra odor control. It’s specifically designed for the pail and just screws right into a spot on the inside of the lid. When you’re dealing with multiple kids in diapers, every bit of odor management helps maintain your sanity.
4. Diaper Rash Prevention
Keep Aquaphor within arm’s reach at all times. We went through this stuff by the tub when dealing with three kids in diapers. Apply a thin layer at every change as a preventative measure, not just when rash appears. This saves you from dealing with painful rashes later. We tried some of the other popular diaper creams, but they never worked well for us, and we unfortunately had kids suffering from sensitive skin and terrible diaper rash at times. Our pediatrician supported our use of Aquaphor over other diaper creams.

The Subscribe & Save Strategy That Saved Us Hundreds
Here’s the part that transformed our diaper budget: Amazon Subscribe & Save.
Items we kept on automatic delivery:
- Huggies Natural Care wipes (delivered every 2 weeks during peak diaper years)
- Munchkin diaper pail refill rings (every 3 months for three kids)
- Aquaphor (every 2-3 months)
- Disposable diapers for overnight and travel (monthly)
- Arm & Hammer Baking Soda Puck (every 4-6 months)
The Subscribe & Save discount ranges from 5% to 15% depending on how many subscriptions you maintain. Over three years and multiple kids, these savings added up to hundreds of dollars. More importantly, we never had that 11pm panic moment of realizing we were out of wipes.
Pro tip: Amazon Prime membership gives you access to Subscribe & Save and free shipping, which is essential when you’re ordering bulky items like diaper supplies regularly. The membership paid for itself within the first few months of having kids in diapers.
Setting Up Your Station for Maximum Efficiency
The one-handed rule: Everything you need during a diaper change should be within arm’s reach without taking your hand off the baby. This becomes critical as babies get more mobile.
Our layout:
- Changing pad in the center (obviously)
- Wipes dispenser on the right (for right-handed changing)
- Clean diapers in a basket directly below
- Diaper cream within easy reach
- Diaper pail immediately next to the changing area on the floor on the right
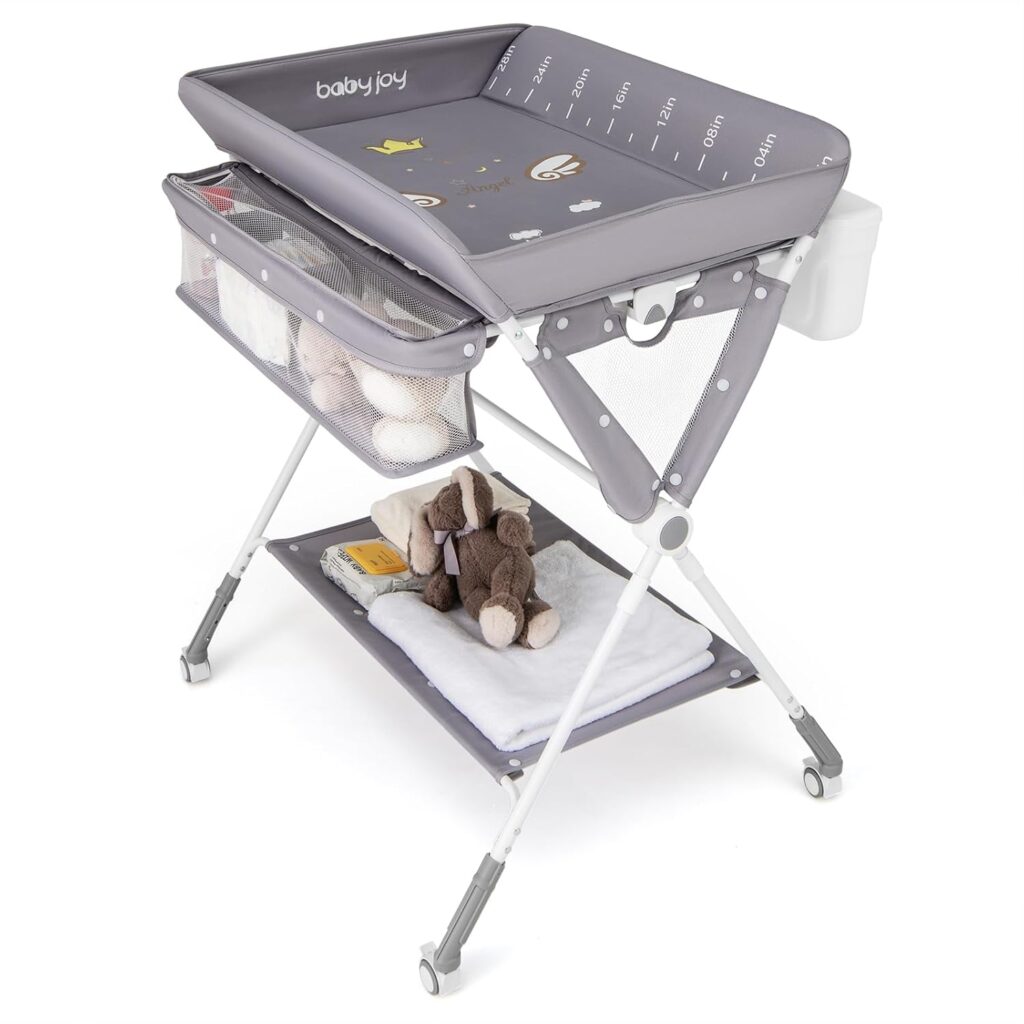
We had two diaper changing setups. In our master bedroom where space was more limited with our large bed and dressers and two cribs, we had the Baby Joy changing table pictured above. In the kids bedroom, we had a similar diaper change setup, but the changing pad was directly on top of one of the kids dressers.
Keep extras stocked: We maintained a 2-week supply of everything. With three kids in diapers, running out of wipes or clean cloth diapers could derail your entire day.
Lessons from 30,000 Diaper Changes
Start with the basics: Don’t overbuy specialty items before you know what you need. Our setup evolved based on what actually worked during those chaotic early months.
Quality matters more than quantity: We tried cheap changing pads and flimsy wipes dispensers. They broke or leaked, costing us more in replacements than if we’d invested in quality items upfront.
Automation is your friend: Subscribe & Save eliminated so many unnecessary trips to the store with multiple young kids in tow. Set it up once and forget about it.
Cloth diapers aren’t all-or-nothing: Even using cloth for 50% of changes creates substantial savings while keeping some convenience of disposables.
The Bottom Line
A well-organized diaper changing station won’t make those 7,600 changes per kid disappear, but it will make them manageable. When you’re dealing with multiple kids in diapers—especially twins—efficiency and organization become the difference between chaos and controlled chaos.
The setup I’ve described here survived four kids, including managing three in diapers simultaneously. It’s battle-tested through countless emergencies, overnight blowouts, and those frantic mornings when everyone needed changing at once.
Invest in quality items for your most-used supplies, automate the boring stuff with Subscribe & Save, and set everything up for one-handed operation. Your future sleep-deprived self will thank you.
About the Author
I’m a father of four (including twin 8-year-old boys) with a background in technology. After surviving the diaper years with multiple kids, I share practical parenting solutions that actually work in real-world chaos. I only recommend products my family has genuinely used and tested through years of daily use.
Disclosure: This post contains affiliate links. As an Amazon Associate, I earn from qualifying purchases. When you purchase through these links, I earn a small commission at no additional cost to you. This helps support my ability to provide helpful content for parents. I only recommend products I’ve used with my own children and believe will genuinely help families manage the diaper years more efficiently.
Leave a Reply